“High precision 3D industrial surveying using laser tracker for alignment and quality assurance”
Laser tracker
There are still higher demands for specializing in all industries where the demands of keeping tolerances are increasing. In Denmark we are highly advanced when it comes to traceability in the production of parts where precision is decisive. Over the years LIFA has founded a unique department with focus on exactly these kinds of tasks, who are closely linked to industrial high precision surveying. This department assist in different parts of the production as a stand by external surveying unit. We help producing the necessary documentation to keep Danish industries as players in the global market.
We use Leica Absolute Tracker AT401 and AT960 portable CMM (Coordinate Measuring Machine) and solve assignments all across the country. We collect, present and analyse 3D data for industrial purposes and within the high demands in tolerances.
At LIFA we are experts in GPS (Geometric Product Specification) and GD&T (Geometric dimensioning & Tolerancing) and we are able to professionally communicate about tolerances and reference systems. We handle reporting about uncertainties and geometric design tolerances according to the following list:
- Position tolerances: Parallelism, perpendicularity, angularity, position, concentricity, coaxially, symmetry and different run-out tolerances
- Profile form tolerances: Line profile form and surface profile form
- Form tolerances: Straightness, flatness, roundness and cylindrical
Our role in the production would be anything from doing a FAI (First Article Inspection) on parts to an inspection of a MSA (Measurement System Analysis) which helps to produce parts of a high quality more effective and with fever mistakes.
The following are a few examples where the laser tracker was used:
- Measurements relative to the CAD model
- Machine inspection
- Quality control of MSA
Measurements relative to the CAD model
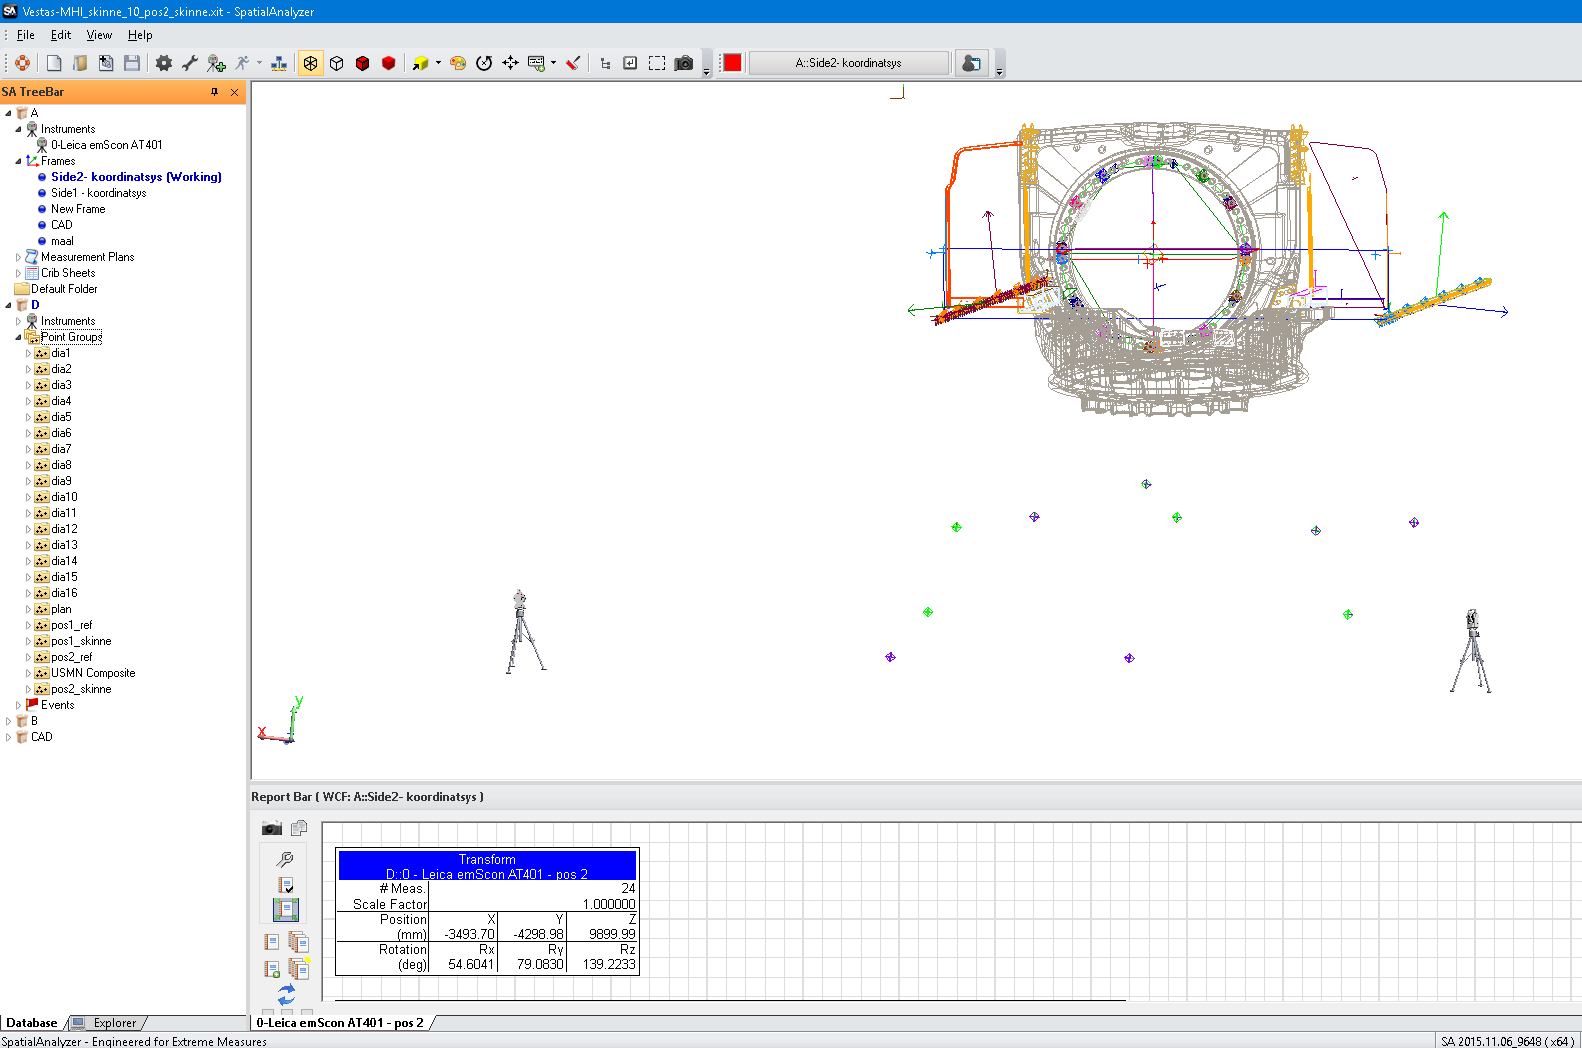
Our laser tracker software allows us to use the information from a CAD model directly on the physical object and on-site. While we are doing the measurements we can on-site inform you the size of the adjustments that need to be done.
An example: A company needed to place a new part very accurate on a machine. To do this the machine is measured and on the basis of the measurement it is possible place the CAD drawing relative to the machine. Now the company could place the part on the machine within the required tolerances.
An example: A company needed to calibrate several different parts on a machine. It is not possible to see the entire machine from one position which made it difficult for the company to do the calibration them self. LIFA did a complete measurement of the machine and placed the CAD drawing relative to the machine. Now it was possible to see where and how much the machine needed to be calibrated.

Machine inspection
Inspecting a machine regularly is important in maintaining quality and precision in a production to avoid skewness in parts. Measurements can be done on the basis of a CAD model or on the basis of the specific machine.
An example: A company have invested in a new and expensive machine to produce large parts. The producer of the machine ensures that the alignment and calibration is done correctly and according to specifications. The producer also teaches a group of employees how to use and maintain the machine.
Most of the produced parts are inspected manually in 2D and some parts in 3D. From these inspections skewness is detected. Both the machine and several more produced parts are inspected. The machine is not indicating that something is wrong, but what it produces does.
Using the laser tracker LIFA makes a full inspection of the machine and locates where in the machine it is making the skewness on the produced parts. The problem is now corrected and there is no more skewness on the produced parts.
Quality control of MSA
MSA is a method of testing if the measurement system that is used to inspect the quality of a machine or its produced part is accurate.
An example: A costumer suspects its supplier does not deliver parts of a high enough quality. The supplier suspects it is the measuring system used by the costumer that is not good enough.
LIFA inspects the measuring system with a laser tracker while the measuring system is being stressed. When the measurering system is done the data set from the laser tracker is compared to the data from the measurering system. This way it is possible to make an independent control of the measurement system.

